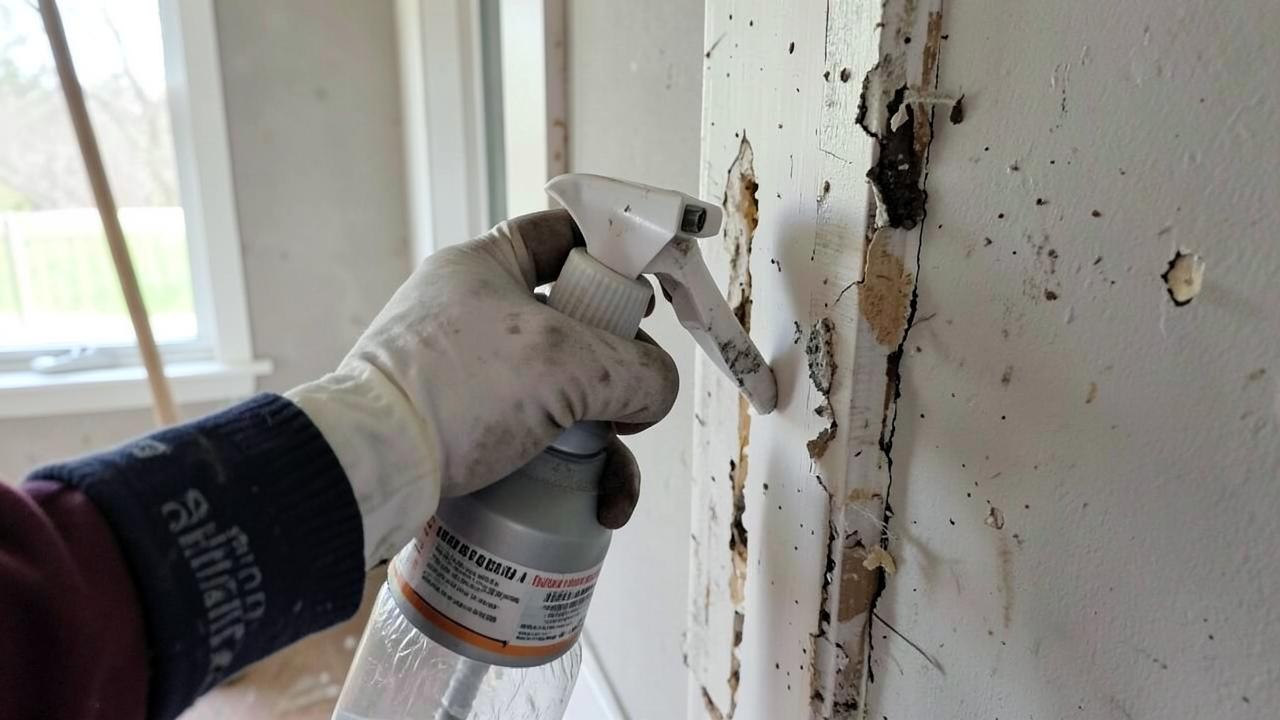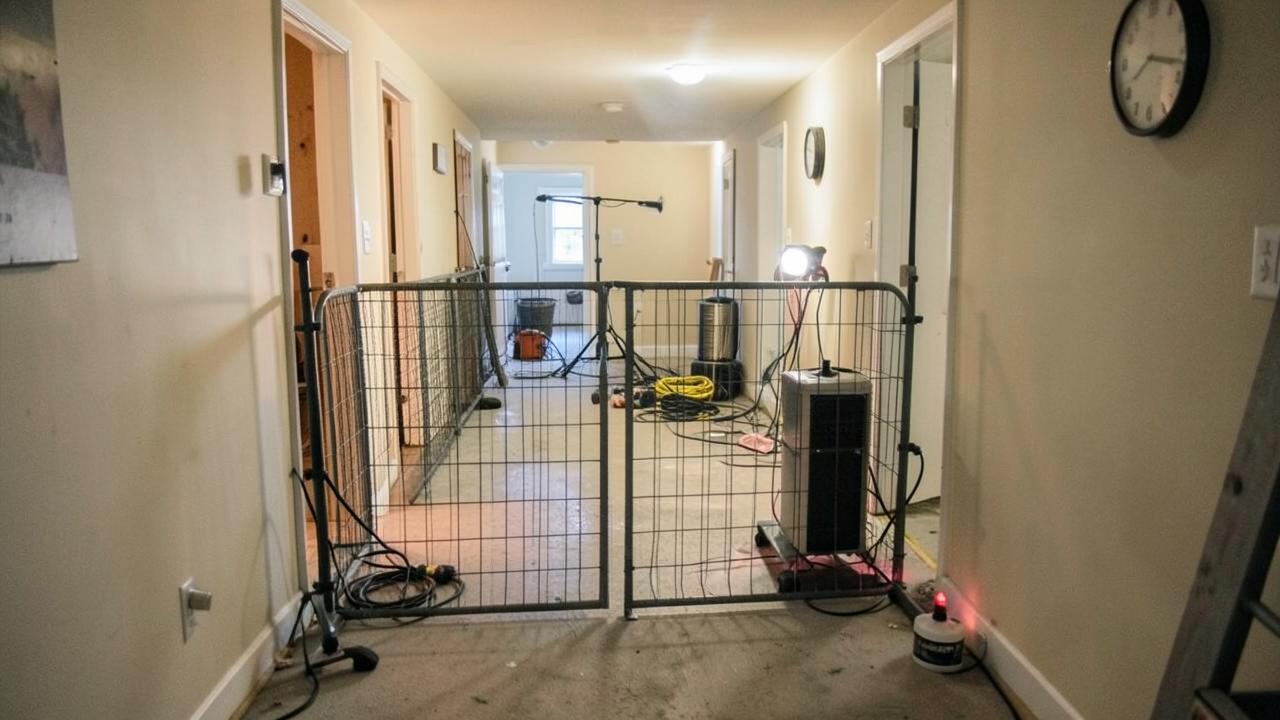
Most of the mold on a job is not the mold you can see. This post is about finding the rest of it — how pin and pinless moisture meters actually behave, where thermal imaging helps and where it lies, the places growth reliably hides, and how to turn all of it into a defensible map instead of a hunch.
Why do you need instruments to find mold at all?
Because growth follows moisture in the material, and moisture in the material is invisible from the room. By the time growth shows on the finished surface, the back of that assembly has usually been wet for a while.
Instruments do two jobs on a mold inspection. They tell you where to look — which is what turns a three-hour hunt into a twenty-minute scan — and they give you numbers you can write down, compare over time and defend later. A pointed finger is not evidence; a mapped set of readings with reference values is.
Pinless or pin meter — which one and when?
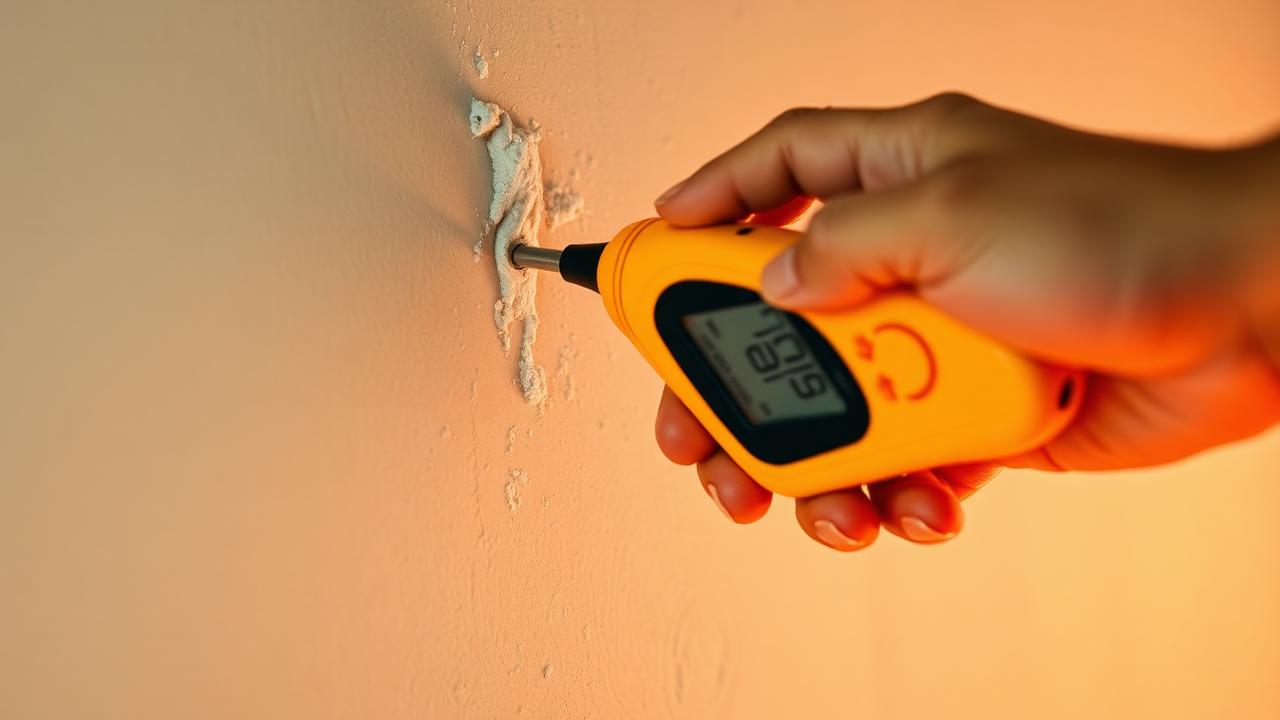
Scan with pinless, confirm with pins. The pinless meter reads a volume of material below the surface without marking the finish, so it is the tool for sweeping a whole room quickly; the pin meter gives you a reading at a known depth in a known material, which is what you record.
Things that will fool each of them:
- Pinless: foil-faced insulation, wire, plumbing, nail plates and dense backing behind the surface all read as "wet." Anything metallic inside the sensing depth is a false high.
- Pinless: the reading depends on density, so drywall, plaster and tile all read differently. Compare like against like.
- Pins: they read the moisture at the pin tips only. Short pins in drywall tell you nothing about the bottom plate behind it.
- Pins: salts, some adhesives and treated lumber can skew readings.
- Both: the number means nothing without a reference reading from the same material in an unaffected area. That reference is your dry standard.
Where cavities are the question, a thermo-hygrometer with a cavity probe answers something the surface meters cannot: how wet the air inside the assembly is. A cavity reading well above the room is a wet cavity, whatever the wall face says.
How do you map a room instead of spot-checking it?
Work a grid, not a hunch. Start with an unaffected reference, scan the perimeter at the base where water collects, then move up until readings normalise, and mark the boundary of the wet area on a sketch.
- Take reference readings first, in the same materials, away from the loss.
- Scan the base of every wall in the affected room and the rooms sharing those walls.
- Follow the water: down, along framing, under door thresholds, into the level below.
- Mark the wet boundary with tape as you go, then photograph it against the sketch.
- Confirm the boundary and any surprises with pin readings, and write the numbers down.
- Repeat the same points on every visit — the trend is the story, not one day's numbers.
Those same logged points become your drying documentation and your evidence at verification. The documentation post covers what to keep, and the remediation checklist puts the readings at the right points in the job sequence.
What does thermal imaging actually show you?
A thermal camera shows surface temperature differences, not moisture and definitely not mold. Wet materials often read cooler because of evaporation, which is why a camera is superb at finding the shape of a wet area fast — and useless as proof on its own.
Use it as a targeting tool: sweep the room, find the anomalies, then put a meter on every anomaly before you believe it. Cold spots also come from missing insulation, air leakage, plumbing runs, framing and the sun that hit that wall an hour ago. Every thermal finding on a mold job should be confirmed with a moisture reading, and the report should show both.
Where does hidden mold actually hide?
In the places that stay wet longest and get inspected least: wrapped assemblies, cold surfaces, and anything with a finish on both sides. If you only remember one list from this post, make it this one.
- The back of drywall and the bottom plate behind a wet wall.
- Under and behind base cabinets, vanities and toe kicks.
- Behind tub and shower surrounds, and in the joist bay below a second-floor bath.
- Under vinyl, laminate and glued-down flooring on slab.
- Under carpet pad, especially at the tack strip and against exterior walls.
- Inside wall cavities with vapour-retarding paint or wallpaper on the room side.
- Roof sheathing and the ceiling plane in a poorly ventilated attic — attic mold.
- Joists, subfloor and ductwork in crawlspaces — crawlspace mold.
- Air handlers, plenums and the first few feet of duct — HVAC contamination.
- Behind furniture on the inside face of an exterior wall — a condensation problem, not a leak.
When is it worth making an inspection hole?
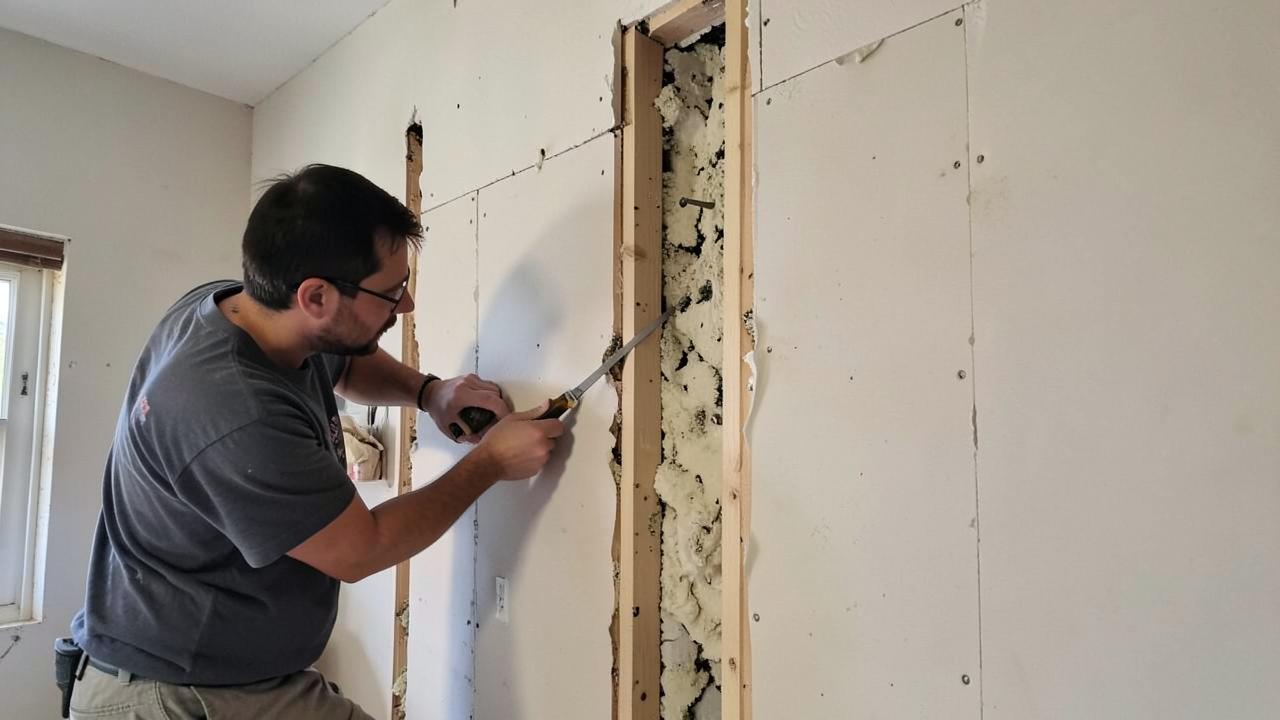
When the readings, the odour and the water history disagree with what the surface looks like. A small hole in an inconspicuous spot answers in one minute what an hour of scanning cannot — and it is cheap to patch compared with a wrong classification.
Get permission first, cut where it will be covered or easily repaired, and use a borescope if the cavity is deep. Treat the opening as a potential aerosol event if you suspect growth: the point is to look, not to disturb a colony in an unprotected room. That judgement is exactly the Condition 2 versus Condition 3 question covered in Condition 2 vs Condition 3.
How do readings become a scope and a price?
The wet map becomes the affected-area table: each area, each material, the square footage, and whether it is cleaned or removed. That table is the scope, and the scope is what gets priced.
Drop it straight into the scope of work template, run the square footage through the mold remediation cost calculator, and size the filtration for whatever containment the scope requires with the ACH calculator. Numbers you measured beat numbers you estimated every time an adjuster asks.
How is this tested on the AMRT exam?
Expect questions on choosing the right instrument, on comparing readings against an unaffected reference, and on the limits of thermal imaging. The theme is always the same: instruments locate moisture, inspection confirms growth, and documentation carries both.
Work through the practice exams and the flashcards, and see the AMRT certification guide for how inspection sits in the exam blueprint. The drying side of meter work is covered on our sister site WRTTraining.com.
What should you record, and in what format?
Record the point, the material, the meter and mode, the value, the reference value and the date — every visit, at the same points. A number without a location and a reference is not data, it is a memory.
Keep it in one place: a sketch with numbered monitoring points, a simple table of readings by date, and photographs that show the meter against the surface at a recognisable location. That package answers the adjuster's questions, supports the scope you wrote, and demonstrates the drying actually happened. The checklist prints clean for the job file, and the regrowth post covers the dry standard those readings are measured against.
What does this cost you if you skip it?
Missed moisture is the single most expensive mistake in this trade, because it is discovered after the rebuild. A wall closed over a wet bottom plate becomes a callback, a rework, and a customer telling their neighbours about it.
The arithmetic is not close. Twenty minutes of scanning and a couple of inspection holes cost almost nothing against demolishing and rebuilding a finished room, and against the reputational cost of a job that failed after you signed it off. Run the numbers on a rework in the cost calculator if you want the figure in front of you.
It also protects the scope you wrote. Every line item defended by a logged reading is a line item that survives review by an adjuster, an IEP or a competing contractor — and the ones you cannot defend are the ones that get cut.