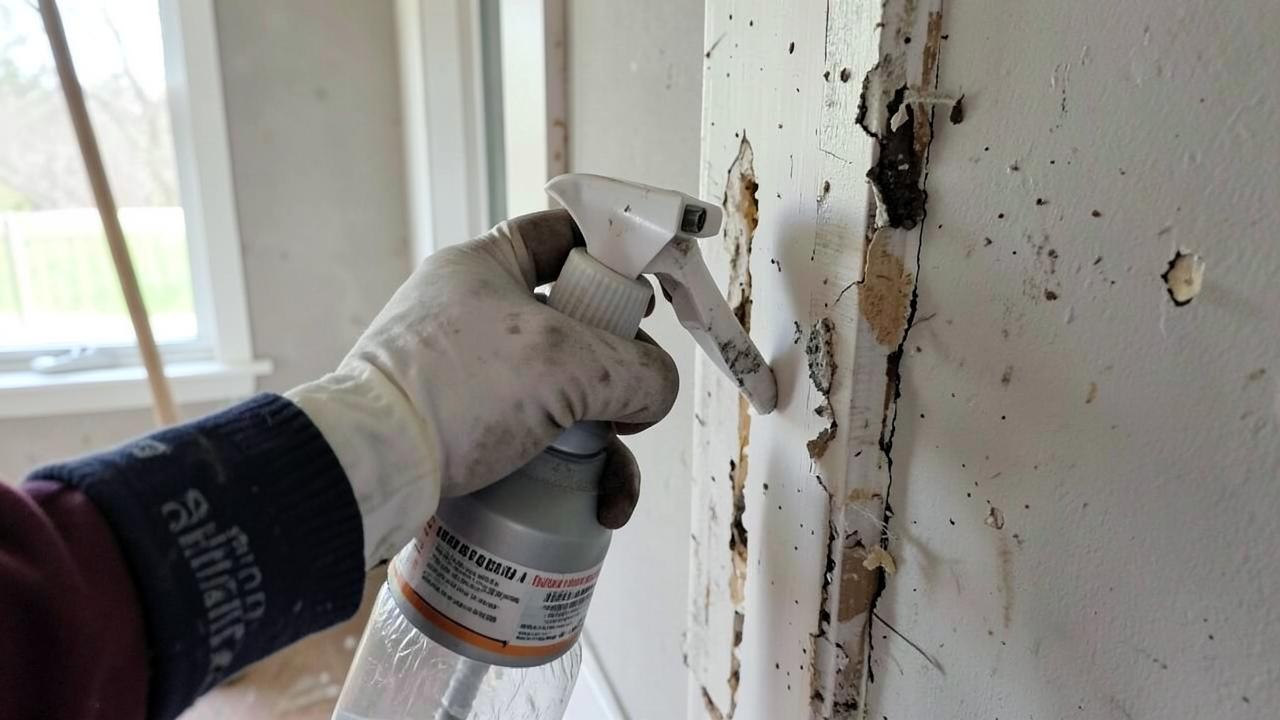
This is the field-decision post. For the plain definitions of all three Conditions and what each looks like in a building, read Condition 1, 2 and 3 explained. Here we deal with the harder question: you are standing in the room with a flashlight and the answer is not obvious.
What actually separates Condition 2 from Condition 3?
Condition 3 means something grew on the surface in front of you; Condition 2 means spores and fragments settled there after growing somewhere else. The whole call comes down to one question — did this material support colonisation, or did it just catch the fallout?
Growth needs moisture in the material, not just humidity in the room. So the first thing that separates the two in practice is not what the surface looks like, it is what the material has been doing with water. A dusty shelf in a dry room is Condition 2 no matter how grey it looks. A clean-looking cabinet base sitting on a slab that has wicked for a year may well be Condition 3 once you pull it.
How do you tell them apart on site?
Work the moisture history, the pattern and the substrate — in that order — and the classification usually resolves itself. Visual staining alone is the weakest evidence of the three, because dirt, soot, overspray and old water staining all look like mold under a work light.
- Moisture history. Is there a source that wetted this specific material, and for how long? Growth follows sustained moisture in the substrate.
- Current readings. Map with a pinless meter and confirm with pins. Elevated readings in the exact footprint of the discolouration point to growth, not fallout. Finding hidden mold covers the mapping routine.
- Pattern. Growth is usually bounded by the wet area and often heavier low or at a cold spot. Settled contamination is even, follows horizontal surfaces, and gets lighter with distance from the source.
- Substrate. Paper-faced drywall, wood, dust-loaded fabric and cellulose insulation support growth readily. Sealed metal, glass and hard plastic effectively do not — contamination on those is settled.
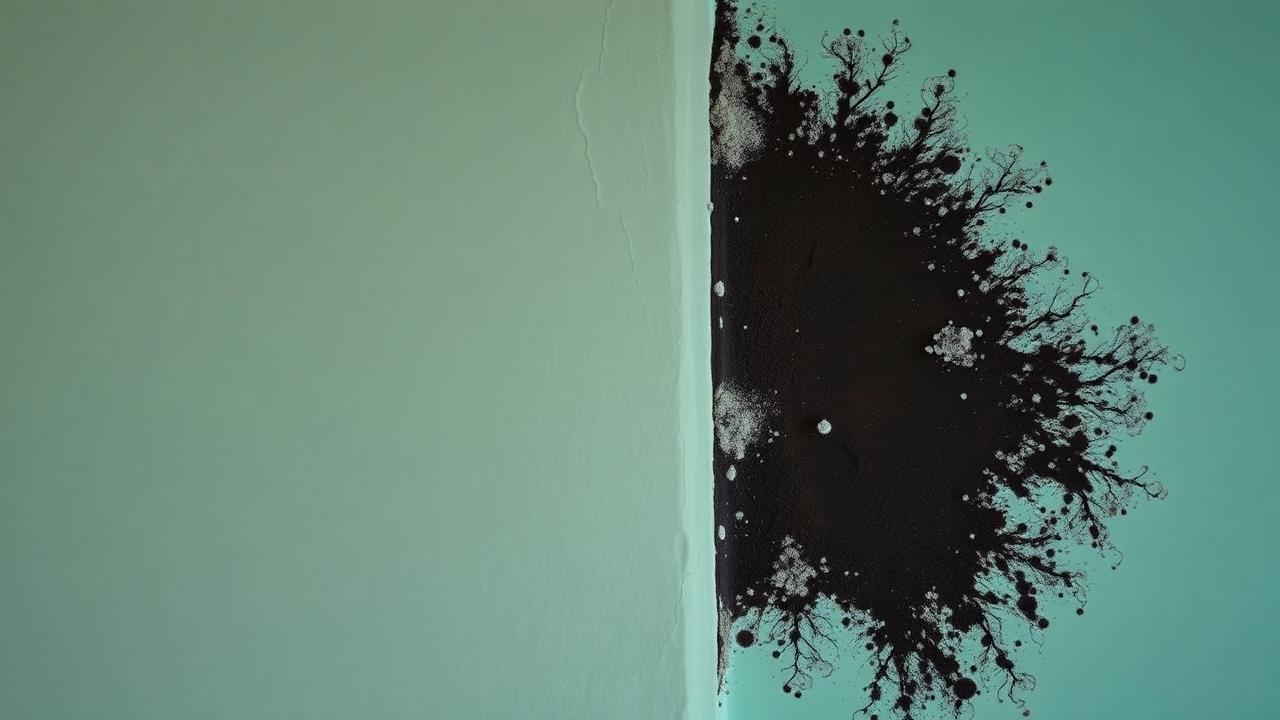
- Texture. Fuzzy, raised, three-dimensional colonies are growth. Flat film that wipes fully clean off a hard surface with no shadow left behind is usually settled dust.
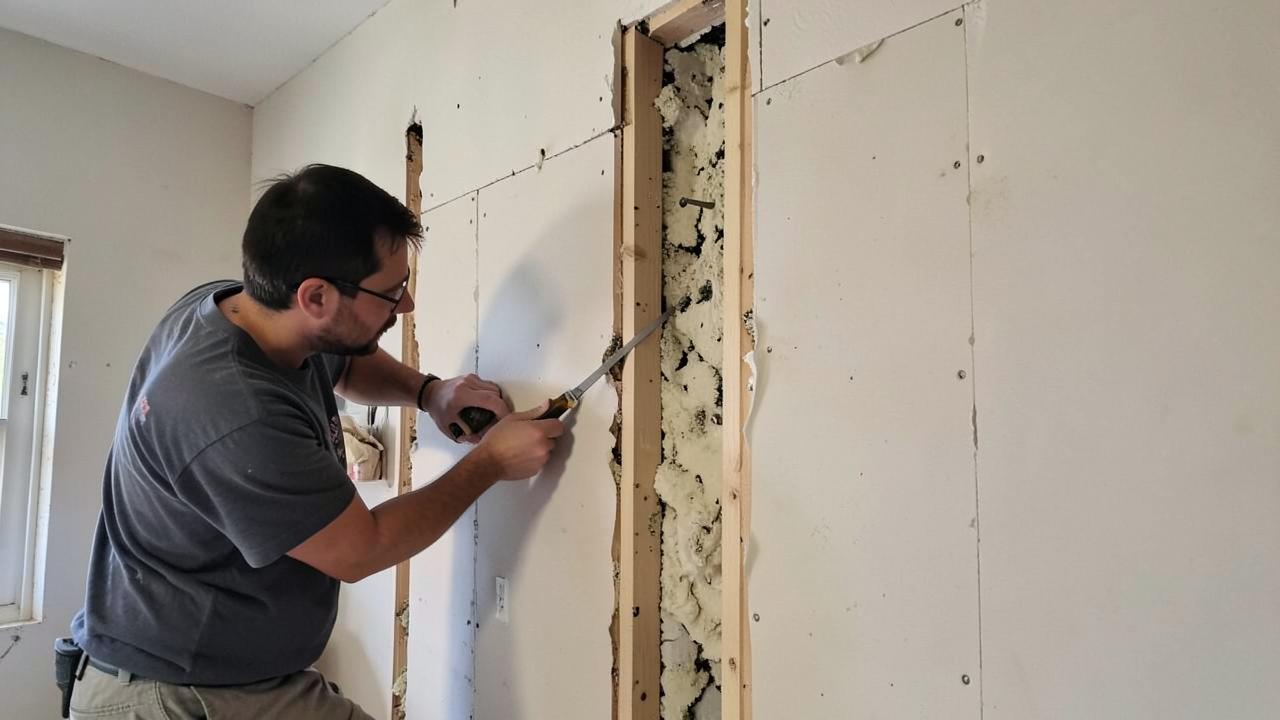
- Look behind it. Pull the base cabinet, lift the carpet corner, cut an inspection hole. Most disputed Condition 2 calls become obvious Condition 3 calls once someone opens the assembly.
Where the call carries real consequence — occupied buildings, sensitive occupants, litigation, insurance — sampling by an independent IEP settles it, and their protocol carries the classification. That is their role rather than yours; the clearance walkthrough explains the division of labour.
What changes in the scope when it is Condition 3?
Condition 3 typically shifts you from cleaning to physical removal of porous colonised materials, and from light controls to engineered controls. That is the practical difference, and it is where the money and the schedule move.
Concretely, a Condition 3 area usually adds:
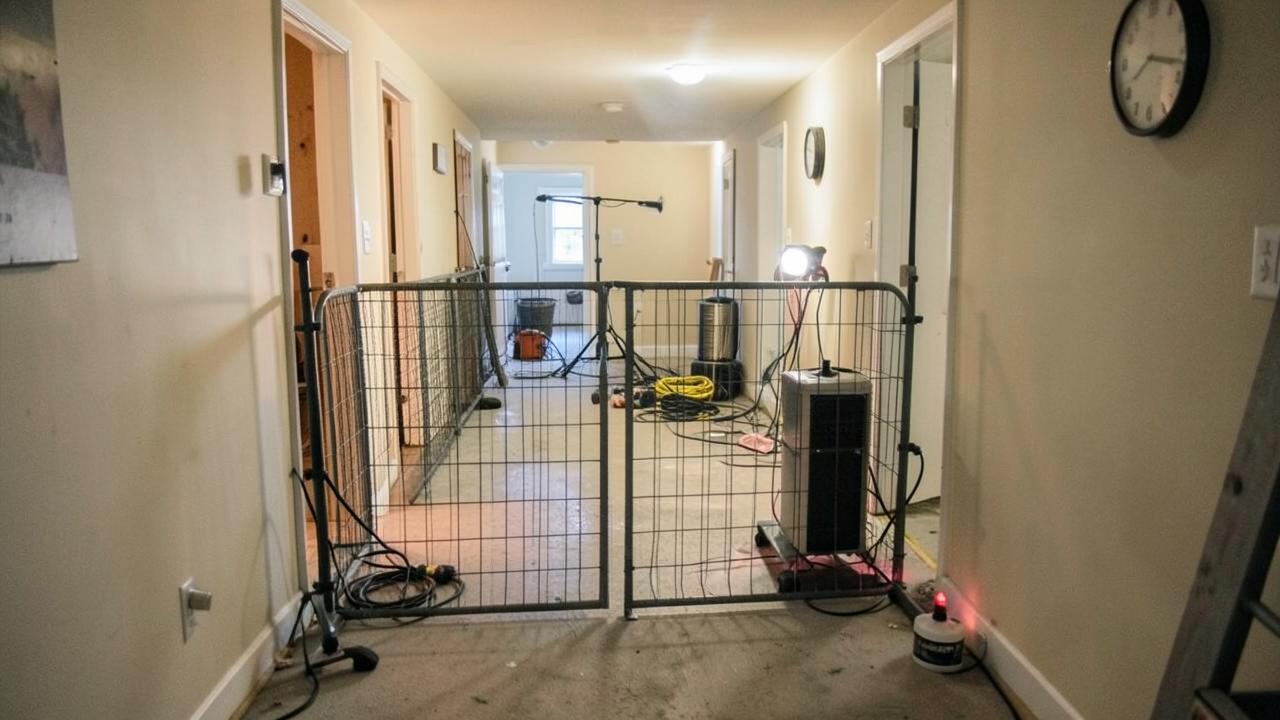
- A built containment with critical barriers rather than a wipe-down radius.
- Negative pressure and sized HEPA filtration — size the machines here — plus machine placement.
- Removal and bagging of colonised porous materials, with a defined waste path.
- Higher-level PPE matched to the aerosol the removal method generates.
- Drying of the remaining structure to a written dry standard before rebuild.
- A verification step before the space goes back into use.
A Condition 2 area in the same house may need nothing more than HEPA vacuuming, damp wiping, contents handling and a pathway control so the Condition 3 work next door does not re-contaminate it. Two areas, two line items, two very different unit costs — which is exactly why the classification belongs in the written scope. Build both into the scope of work template and price them separately in the cost calculator.
What happens if you call Condition 3 "Condition 2"?
You clean a surface that has growth inside it, and the growth comes back or the clearance fails. Under- classifying is the expensive mistake, because the rework happens after the containment is down, the rebuild has started and the customer has moved back in.
The failure mode is predictable: the visual inspection at verification finds what you wiped, or the moisture that was never corrected reactivates the colony, or the IEP's sampling shows the space did not return to normal fungal ecology. Then you rebuild the containment in a finished room.
What happens if you call Condition 2 "Condition 3"?
You demolish material that did not need to come out, and you charge for containment the job did not require. Over-classifying is safer for the building and worse for your credibility and your estimate.
It also creates a real problem on insurance work, where an adjuster or a competing bid will ask what justified pulling the wall. If your photos and moisture logs cannot answer that, the line item is at risk. This is where a documented classification pays for itself — documentation IEPs expect.
How does the Condition change verification and PRV?
Condition 3 areas are the ones that carry the full verification burden — visual inspection, dryness, and on many jobs independent post-remediation verification before rebuild. Condition 2 areas are commonly verified visually and by cleanliness of the surfaces, though the IEP writing the protocol decides that, not the remediator.
Whichever it is, the goal is the same: every area returns to Condition 1. Write that sentence into the scope, because "returned to Condition 1" is a defensible completion criterion and "looks clean" is not. Work the closeout in order with the mold remediation checklist, and make sure the moisture source is corrected — otherwise you are booking a return trip, as preventing regrowth covers.
How is this tested on the AMRT exam?
Scenario questions describe a room and ask what changes — containment, PPE, method or verification — and the answer depends on whether you read the described evidence as growth or as fallout. Watch for the detail that gives it away: a substrate that cannot support growth, a moisture reading, a distance from the source.
Drill the distinction on the AMRT flashcards, then take a timed practice exam and check how many of your misses trace back to a misclassification. The AMRT certification guide covers the exam format, and the S520 overview covers where the Conditions sit in the standard.
What is the field rule of thumb?
Classify on evidence, not on appearance, and open the assembly when the evidence is thin. Five minutes with an inspection hole and a meter beats an argument at clearance every time.
If your call still comes down to a coin flip, document both readings of it, tell the customer plainly, and recommend an independent assessment. That is an honest answer, it is cheap compared with rework, and it is what a working remediator with a licence to protect actually does — see state licensing requirements.
What about contents in a disputed area?
Contents follow the area they were in, and they travel — which makes them the fastest way to spread a misclassification through a building. Boxes carried out of a Condition 3 room without cleaning turn a clean garage into a Condition 2 area, and nobody logs it because nobody decided to do it.
Decide the contents plan at the same time you classify the space: what stays under containment, what gets HEPA-cleaned on the way out, what is non-salvageable, and where it all goes. Put that in the scope rather than leaving it to whoever is carrying the boxes on Thursday.
How do you explain the difference to a customer?
Use plain words and the water story: "this material had water in it long enough for mold to grow, so it comes out — that room only caught dust from it, so we clean it." Customers accept a scope they understand, and they push back on one that sounds like a category system invented to justify demolition.
Show them the evidence while you say it. A meter reading on the wet wall and a dry reading six feet away does more than any explanation, and a photo of the back of a piece of removed drywall ends most arguments about whether removal was necessary. If you are recommending removal on a judgement call rather than obvious growth, say that too — people forgive uncertainty they were told about in advance and never forgive uncertainty they discover in the invoice.
Then put it in writing. Each area, its classification, the reason, and the work it gets, in the scope of work. When somebody asks in six months why the hallway cost a tenth of the bathroom, the document answers for you.