Every mold job started as a water job somebody did not finish. This post is about the window between the two — how quickly growth commonly begins after a water intrusion, what a remediator checks when they are called in behind a drying crew, and the point where prevention work turns into remediation work with a different scope, different controls and a different price.
How fast does mold start after water damage?
The figure commonly cited across the restoration industry is that growth can begin within roughly 24 to 48 hours on wet, cellulose-rich materials at ordinary indoor temperatures. Treat that as a planning assumption rather than a guarantee — the real answer depends on the material, the temperature, how much dust and soil is on the surface, and how long the moisture actually stays in the substrate.
What matters more than the number is the direction it points: the response clock starts at the loss, not at the first dry reading. Paper-faced drywall, cellulose insulation, cardboard and dust-loaded carpet backing are the fast movers. Kiln-dried framing that got wet and then dried in two days is usually fine. The same framing wet for a week behind a vapour-retarding finish is a different conversation.
The one thing you cannot do is assume prevention succeeded because the surface feels dry. Surfaces dry first and assemblies dry last, which is the whole reason mold shows up on jobs that were "dried."
What does a remediator check on a post-water-loss walkthrough?
Source first, then the wet map, then the assemblies that hold water longest. If the source is still active — a slow supply leak, a roof, ground water, a chronic condensation problem — nothing you do downstream holds.
- The source and whether it is corrected. Who fixed it, when, and is there documentation? An uncorrected source belongs in the scope's exclusions, not in your optimism.
- Category and time. How clean was the water and how long did it sit before anyone responded? Both change what can be cleaned and what has to come out.
- A full moisture map. Not spot checks — perimeter readings, wall bases, adjoining rooms and the level below. See finding hidden mold for the routine.
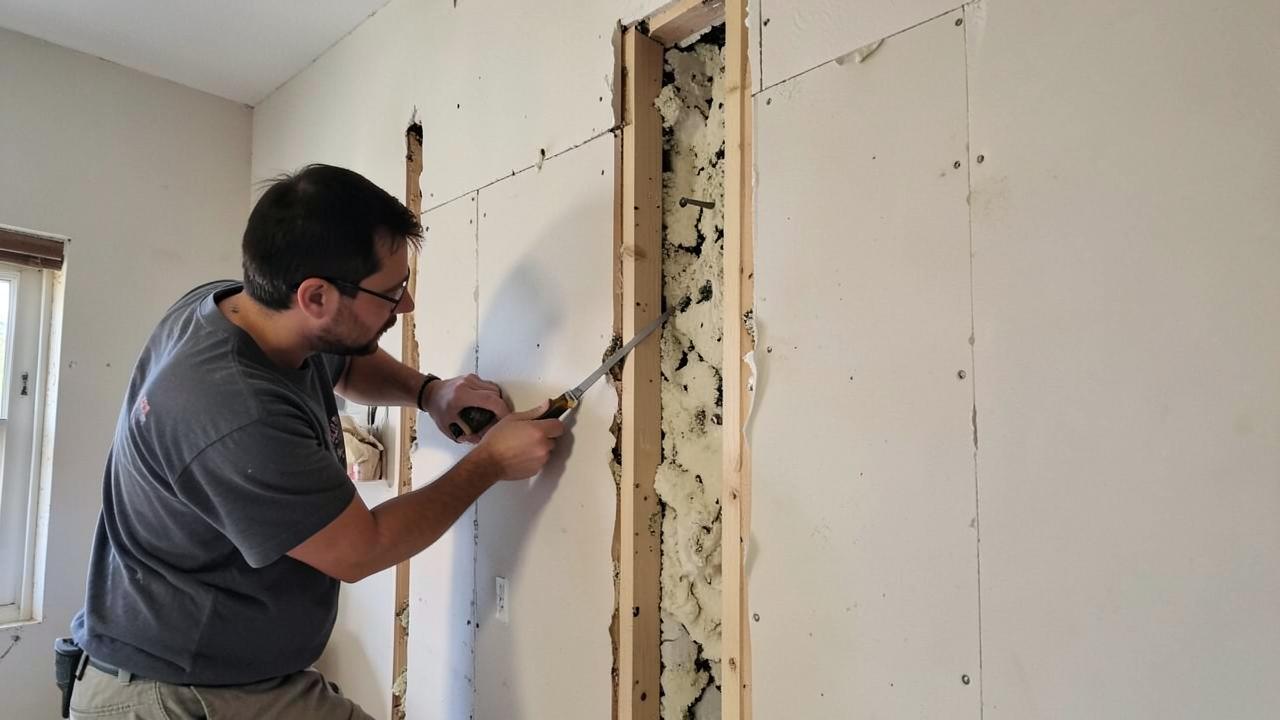
- Cavities and wrapped assemblies. Wall cavities, under cabinets, behind tub surrounds, under vinyl on slab, sill plates in a crawl.
- The HVAC. Did the system run during or after the loss? If so, contamination may have travelled well beyond the wet map — HVAC contamination.
- Odour. A musty smell in a "dried" building is evidence of growth somewhere you have not looked yet.
- Drying records. Daily moisture logs, equipment placement and a written dry standard — or the absence of all three, which is itself a finding.
Where does drying end and remediation begin?
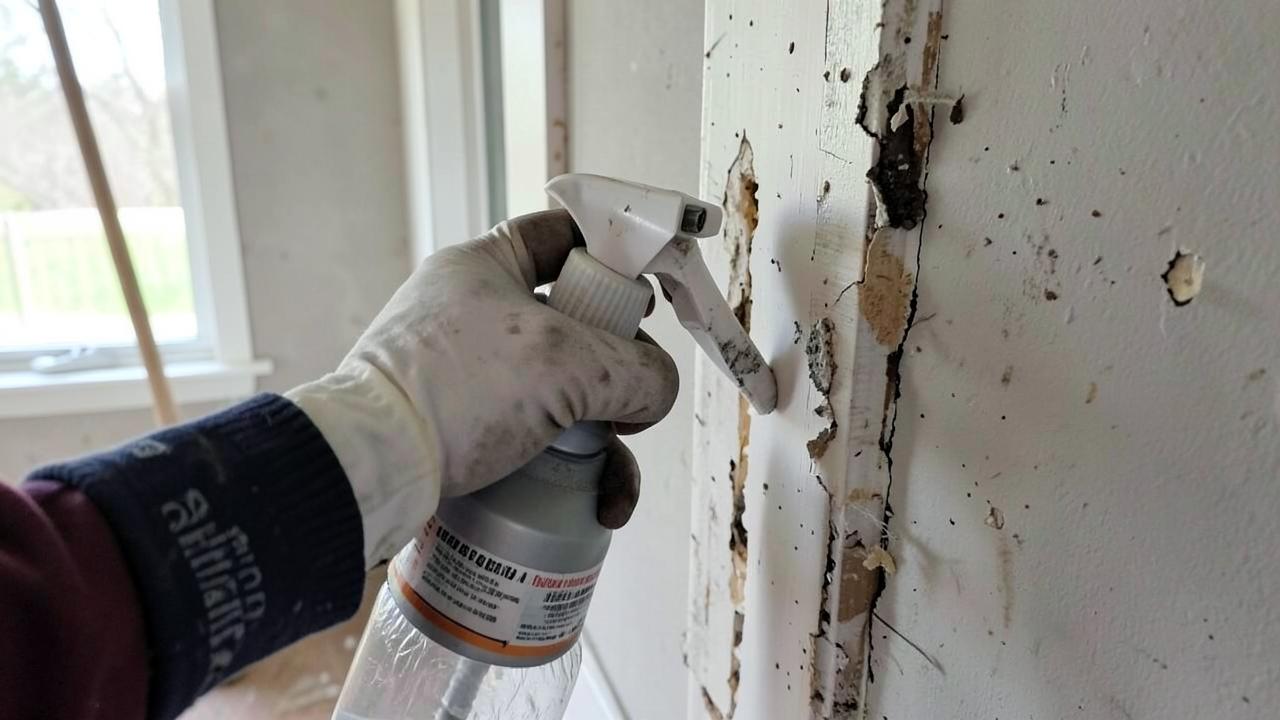
Prevention is a drying job: remove the water, control humidity, dry materials in place to a documented standard before growth establishes. Remediation begins the moment there is actual growth, because then the goal changes from drying material to removing contamination.
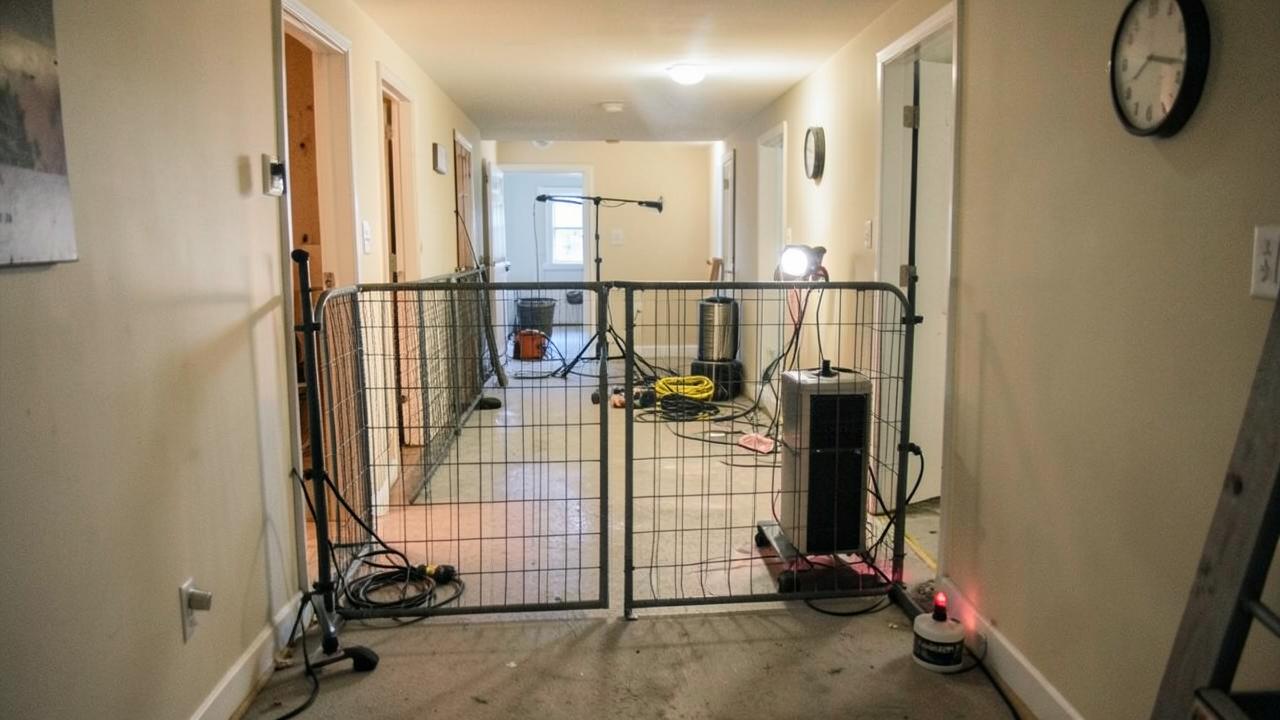
That is not a subtle handover. It brings in Condition classification, containment, negative pressure, sized HEPA filtration, PPE, controlled removal and verification — see Condition 1, 2 and 3 explained. A crew set up to dry a house is not set up to do that, and running mold work with drying-job controls is how spores end up in the rest of the building.
The drying side of the trade has its own standard and its own certification. Our sister site WRTTraining.com covers water damage restoration and the WRT credential, which is the prerequisite most technicians take before AMRT — the AMRT certification guide explains how the two fit together.
What are the first 24 to 48 hours supposed to look like?
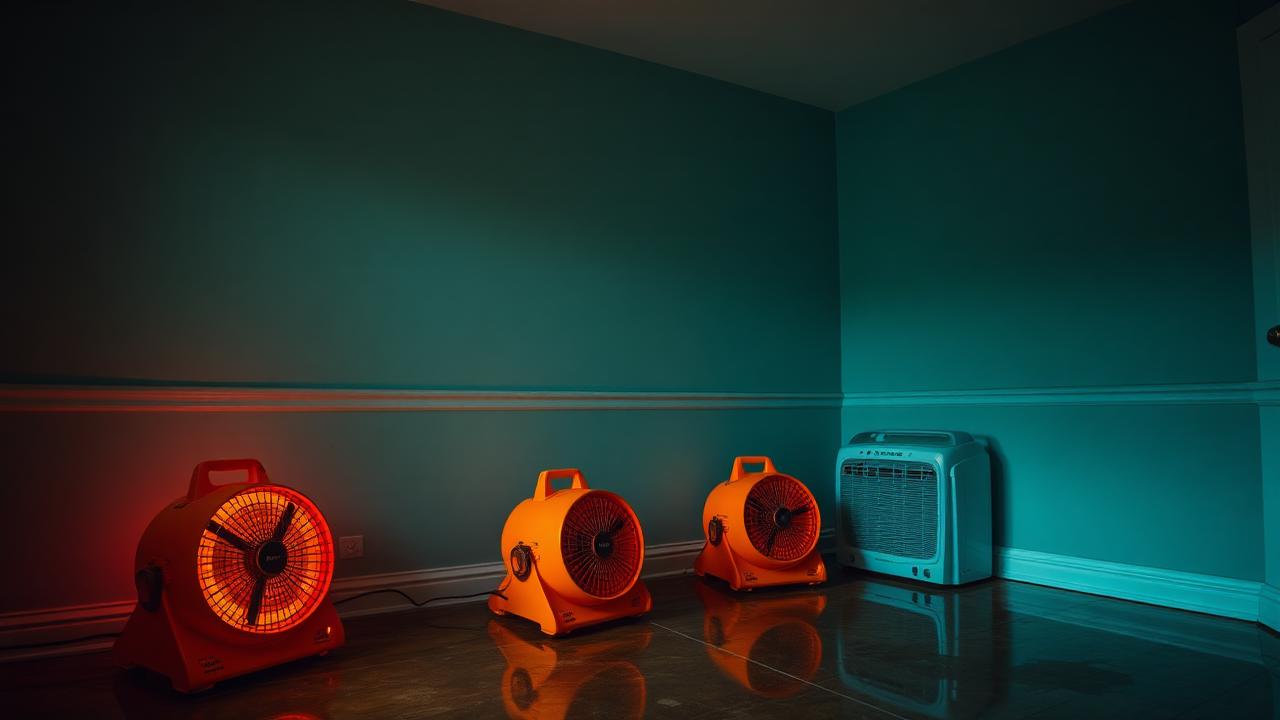
Stop the water, extract standing water, open wet assemblies where it is warranted, and get airflow and dehumidification running with daily documented readings. Speed is the whole strategy — every hour the materials stay wet is an hour on the growth clock.
Practical priorities in that window:
- Extraction before evaporation. Water you pump out is water you do not have to dry.
- Remove what is not worth saving early — wet cellulose insulation and saturated carpet pad hold water and slow everything around them.
- Control humidity so evaporated water leaves the building instead of condensing in a cooler room.
- Set a written dry standard from unaffected reference readings, not from a number somebody remembers.
- Log readings daily, at the same points, with photos.
Why do "dried" buildings still grow mold?
Because the assembly never dried, or the source was never corrected, or nobody checked the places water hides. Surface readings on drywall can read acceptable while the bottom plate, the cavity insulation and the back of the board are still wet.
Repeat offenders:
- Wall cavities dried only from the room side with no airflow into the cavity.
- Under and behind base cabinets and vanities, where nobody wants to pull a countertop.
- Under vinyl and laminate flooring on slab, where the finish blocks drying entirely.
- Crawlspaces that got wet from above and stayed damp from below — see crawlspace remediation.
- Equipment pulled on day three because the schedule said so, not because the readings said so.
What do you tell a customer who wants "the mold prevented"?
Tell them what you will actually do — remove the water fast, dry the assemblies to a documented standard, and correct or identify the source — and be straight that nobody can promise a building will never grow mold. What you can promise is a documented drying process and an honest inspection afterwards.
Put the boundary in writing before you start: what is included, what triggers a change order to a remediation scope, and who is responsible for the source repair. The scope of work template has the exclusions and change-order sections for exactly this, and the cost calculator gives the customer a range for the remediation scope if it comes to that.
What does an AMRT candidate need to take from this?
The exam cares about the decision points, not the drying equipment: when a water loss becomes a mold project, what changes about controls when it does, and the fact that source correction precedes everything. That is the S520's whole logic — you cannot remediate your way out of an active water problem.
Drill the transition scenarios on the practice exams and the flashcards, and read the S520 overview for how the standard frames the moisture-first principle. If you work in a state that regulates mold work, the boundary also has a legal side — state licensing requirements covers where the line falls.
What is the short version?
Assume the growth clock started at the loss, dry assemblies rather than surfaces, and document everything so the handover from prevention to remediation is a decision rather than an argument. Everything else is detail.
What if the customer waited two weeks to call?
Then treat it as a mold inspection, not a drying job, and say so before you unload anything. Two weeks of wet cellulose in a warm building is well past the prevention window, and setting air movers in a contaminated space blows the problem through the rest of the house.
The right first move is a controlled assessment: find the source, map the moisture, open enough to see what is behind the finishes, and classify the areas before any air moves. Then scope it properly with the scope template and price it with the cost calculator. Delivering that news honestly on day one is cheaper for everyone than discovering it on day four with equipment running.
What should go in writing before drying starts?
The source status, the dry standard, the monitoring points, the exclusions and the trigger that turns the job into a remediation scope. Five items, one page, signed — and most of the disputes in this trade never happen.
The trigger is the one people skip. Write something plain: if growth is discovered or the affected materials cannot be dried to the standard within the agreed period, work stops, the customer is notified, and a remediation scope with its own price is issued. That protects the customer from a surprise invoice and protects you from doing mold work on a drying contract.
Attach the monitoring sketch and the reference readings to that page. It costs ten minutes at the start and it is the document you will be glad of if the job goes sideways — documentation IEPs expect covers what the rest of the file should hold.