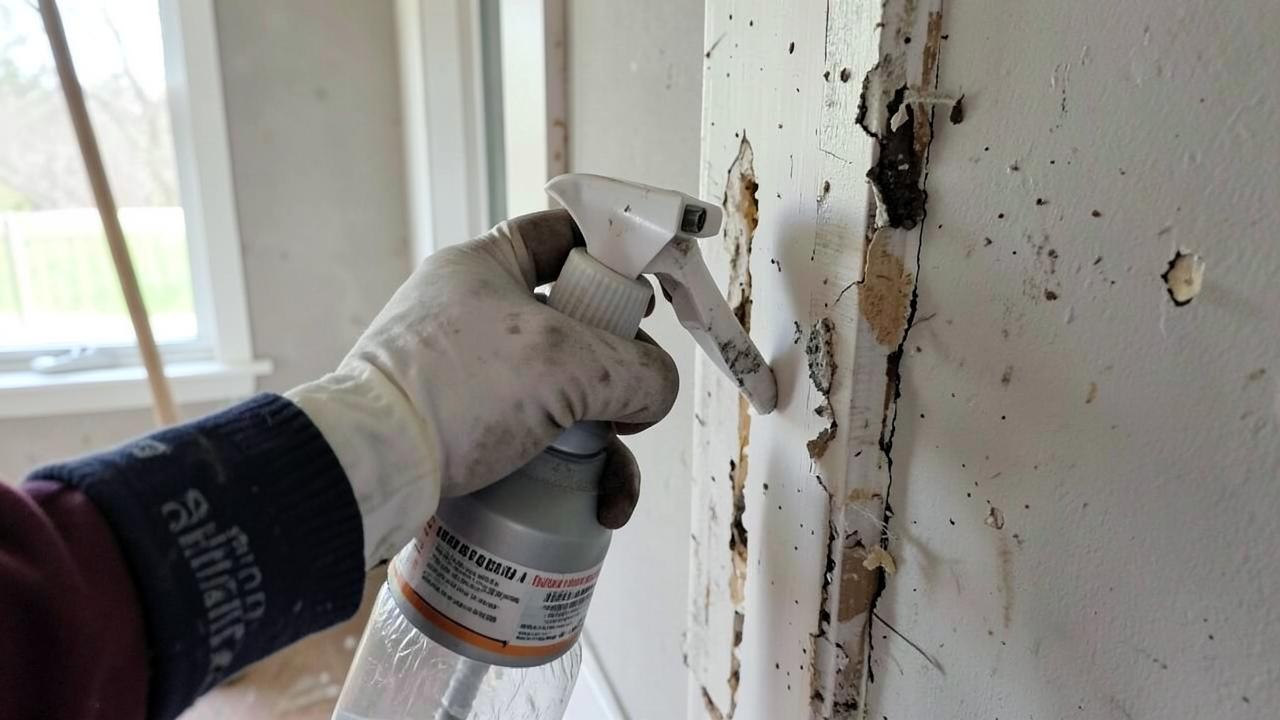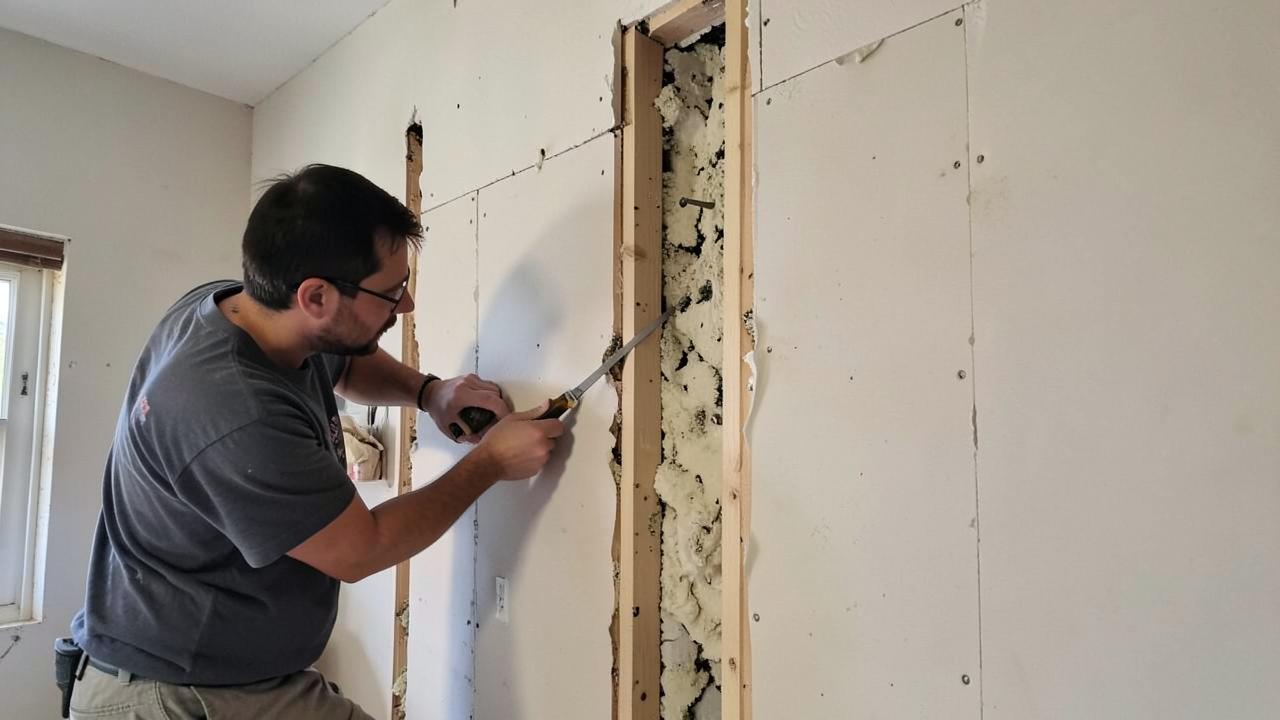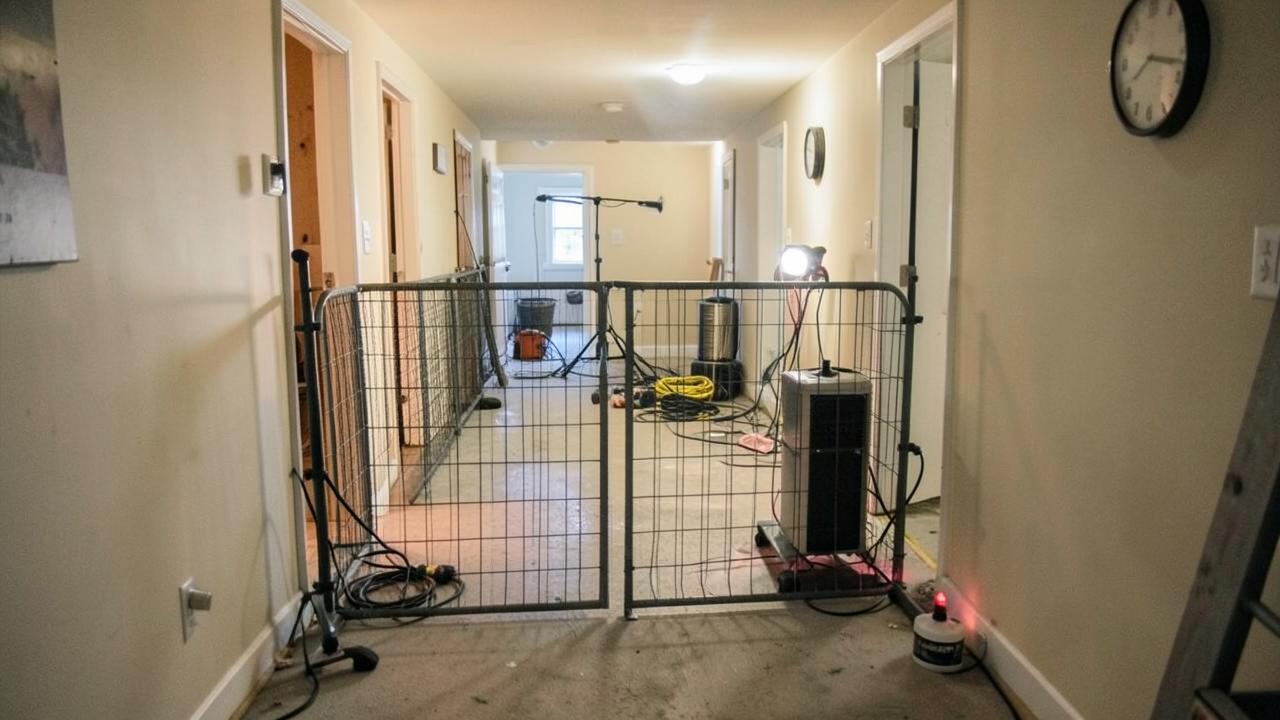
Containment is the control that decides whether a mold job stays a mold job or becomes a whole-house problem. Get the type right and the rest of the work is straightforward; get it wrong and you spend the clearance budget cleaning rooms you never worked in. Here is how the types differ, when each one fits, and how to build and verify them under the ANSI/IICRC S520.
What is containment supposed to do?
Containment exists to keep contaminants generated by your work inside the work area. It does that two ways at once — a physical barrier that blocks the pathways, and a pressure differential that makes any leakage flow inward rather than outward.
Both halves matter. A perfectly sealed barrier with no pressure control leaks every time somebody opens the door; strong negative pressure on a sloppy barrier just pulls unfiltered air through gaps you did not intend. Containment is also not a substitute for correcting the moisture source or for cleaning — it is the control that makes the rest of the sequence hold.
What are the main containment types?
In practice you are choosing between source containment for a very small disturbance, limited containment for a modest area, and full containment with negative pressure and a decontamination chamber for larger or higher-risk work. The distinction is not the square footage on its own — it is the amount of contaminant your method is going to put in the air and who is on the other side of the barrier.
Source containment encloses the material rather than the room: a bagged or wrapped item, a small poly enclosure over a single disturbance, HEPA vacuuming at the point of generation. Fast, cheap, and only appropriate for genuinely small work.
Limited containment is a single-layer poly barrier over the work area with the openings sealed, a flap or single-layer entry, HVAC isolated, and air filtration running. This is the workhorse setup for a contained bathroom or a section of a room.
Full containment adds a decontamination chamber, more robust barrier construction, verified negative pressure, and a controlled entry and exit sequence. Use it for larger areas, heavy Condition 3 removal, aggressive or abrasive methods, occupied buildings, or jobs where sensitive occupants are on the other side of the wall.
How do you decide which containment a job needs?
Decide from the Condition, the extent, the method and the occupancy — in that order. A Condition 3 area being demolished with occupants in the building points at full containment; a small Condition 2 cleaning task in an empty structure may need very little.
Work through it explicitly: what is the Condition of each area (see Conditions 1, 2 and 3), how much material is being disturbed, is the method dust-generating, who occupies the adjacent space, and can the HVAC be isolated cleanly. Then write the answer into the scope of work so the containment you priced is the containment that gets built.
If an independent IEP wrote a protocol, the protocol governs. Where you are choosing, document why — “full containment, occupied building, Condition 3 removal in two areas” is a defensible sentence in a file six months later.
How do you actually build a containment barrier?
Build to the structure, not to the furniture. Barriers run floor to ceiling or floor to deck, seams and edges are sealed, and every opening in the enclosure — doors, vents, chases, penetrations, the gap over a dropped ceiling — gets closed before you call it built.
- Sheet the floor and run the wall poly onto it so the joint is sealed rather than butted.
- Seal the top edge to the ceiling or the deck above; a dropped ceiling is not a barrier.
- Frame or spring-pole the poly so it holds shape under negative pressure.
- Seal supply and return grilles and any duct penetrations inside the area.
- Build the entry as a zipper door, and add the chamber if you are running full containment.
- Protect the pathway from the containment exit to the building exit, and post signage.
The ACH calculator includes a containment materials sub-calculator: enter the wall runs and ceiling height and it estimates the poly, tape and zipper doors so the material figure in your estimate comes from the same measurements as the airflow figure.
How much negative pressure do you need, and how do you verify it?
You need enough differential that air moves reliably inward at every opening, and you verify it with a manometer rather than with a flapping sheet of poly. Set the machine, close the enclosure, read the differential, and log it.
Check it again after anything changes: a door propped open, a machine moved, filters loading up, a window opened by an occupant. Poly sucking inward is a useful visual cue and a poor record — the reading and the time it was taken are what belong in the file. Sizing the machines is a volume calculation, covered in negative air machines and HEPA filtration and handled by the ACH calculator.
What is a decontamination chamber for?
The decon chamber gives you a place to remove PPE and equipment without carrying contamination into clean space. It also acts as an airlock, so opening the work-area door does not vent the containment straight into the hallway.
A workable chamber has a clean side and a dirty side, a bagged waste point, a place to HEPA vacuum equipment and boots, somewhere to hang and store clean PPE, and enough room for a person to actually doff without brushing the walls. Traffic runs one direction. If the chamber becomes a storage closet — and it always tries to — the control stops working.
What are the most common containment mistakes?
The recurring failures are barrier gaps at the top, a live HVAC system, and doors left open. All three look minor on site and all three move contamination into areas you have no scope to clean.
Others worth watching: exhausting a negative air machine into another interior space, filters left loaded until airflow collapses, containment taken down before verification, no protected pathway to the exit, and no signage on an occupied job. Run the site-setup section of the remediation checklist before the first cut, not after.
When can containment come down?
After verification, not before. The containment is what keeps the cleared area clean between your final cleaning and the IEP’s inspection, and taking it down early gives away the result you just paid for.
The order is: cleaning complete, drying documented, area left ready, IEP performs post-remediation verification, verification passes, then teardown and a final HEPA pass on the way out. If it fails, the containment is already in place for the corrective work — see post-remediation verification.
How do you contain an occupied building?
Occupied jobs need the containment plus a plan for the people. The barrier and pressure control are the same; what changes is the pathway, the signage, the noise, and the communication that keeps occupants out of the work zone without a confrontation.
Plan the route from the containment exit to the building exit before you build anything, protect it with floor covering, and keep it as short as possible. Post signage at the containment and at the pathway. Tell occupants what is happening, when the machines run, which rooms are off limits and how long the HVAC will be down - and put it in writing, because the person who lets a dog into a work area is usually the person who was never told.
Where the building holds sensitive occupants, or where the work area cannot be fully isolated from occupied space, the honest answer is sometimes that the occupants should not be there during the work. That is a conversation to have during scoping, not on day three, and it belongs in the scope of work.
How do you maintain containment during a multi-day job?
Check it at the start of every shift and after anything changes. Containment degrades quietly: tape releases, poly tears, filters load, doors get propped, and a barrier that was good on Monday is leaking by Thursday.
A workable daily routine takes five minutes - walk the barrier for tears and released seams, confirm machines are running and exhaust ducting is intact, read and log the pressure differential, check filter loading, confirm the decon chamber is still a chamber rather than a store room, and make sure the waste is going out the route you planned. Log it. A pressure reading with a time on it every day is a much stronger record than one taken at setup and never repeated.
How does containment show up on the AMRT exam?
Containment questions test selection and sequence: which type fits a described scenario, what gets sealed, when pressure is established, and what has to be true before it comes down. They reward reasoning from the Condition and the method rather than memorised square footages.
The AMRT certification guide covers the exam and prerequisites, and the free practice questions include containment scenarios.